Executive Overview
For anyone attempting to upgrade their home entertainment setup or optimize a modern workspace by mounting a flat-screen television or computer monitor to a wall, encountering technical specifications can quickly become overwhelming. Among the most critical yet frequently misunderstood terms in this process is "VESA."
Far too many consumers mistake VESA dimensions for display resolutions, screen sizes, or proprietary hardware configurations. In reality, VESA is a universally recognized engineering standard established by the Video Electronics Standards Association. It dictates the precise geometric layout of the threaded mounting holes on the rear chassis of virtually all contemporary flat-panel displays.
Understanding this system is essential for a safe, secure, and aesthetically pleasing installation. However, matching a set of numbers is only half the battle. As industry experts routinely emphasize, knowing your display’s VESA pattern tells you where the mounting hardware will align, but it tells you nothing about structural weight capacities, wall construction integrity, or specialized bolt requirements.
This comprehensive guide breaks down everything you need to know about VESA mounts: what the numbers truly represent, how to accurately determine your display’s specific pattern, why a matching pattern is only the first step in a safe installation, and how to navigate the hardware landscape to protect your valuable electronics.
Detailed Chronology: The Evolution of Display Mounting and Standardization
To appreciate why modern TV installations are remarkably straightforward compared to decades past, it helps to look back at the historical trajectory of consumer electronics and structural hardware.
The Pre-Standardization Era (Late 20th Century)
During the era of heavy cathode-ray tube (CRT) televisions and early, bulky plasma displays, there was no uniform method for mounting screens to walls or furniture. Televisions were designed primarily to sit flat on heavy media consoles or specialized entertainment centers. When consumers or commercial AV integrators did attempt to mount displays, they had to rely on custom-engineered, brand-specific brackets. A mounting bracket designed for a Sony television of a certain size would almost certainly be completely incompatible with a Panasonic or Philips model of identical dimensions. This lack of standardization drove up manufacturing costs, frustrated consumers, and created safety hazards due to improvised rigging.
The Birth of VESA and the Flat-Panel Revolution (1997–2000s)
As liquid crystal display (LCD) and plasma technologies began transitioning the consumer market toward thin, lightweight flat-panel screens, the Video Electronics Standards Association recognized an urgent industry-wide need. Founded to establish global standards for the computer graphics industry, VESA stepped in to streamline display mounting interfaces.
By introducing the Flat Display Mounting Interface (FDMI) standard—commonly referred to today simply as the "VESA mount"—the association created a universal blueprint. Manufacturers of both displays and mounting hardware adopted these standardized geometric patterns. Suddenly, a bracket manufactured by an independent third-party company could reliably fit displays across dozens of different brands, provided the numerical specifications aligned.
Modern Refinement and the Diversification of Sizes (2010s–Present)
As screen sizes expanded dramatically—moving from standard 32-inch models to massive 65-, 75-, and 85-inch home theater displays—the VESA standard evolved. Engineers introduced larger matrix patterns (such as 400 × 400, 600 × 400, and beyond) to distribute the immense leverage and weight of ultra-large panels safely across reinforced mounting plates. Simultaneously, ultra-slim OLED screens and specialized computer monitors required miniaturized patterns (like 75 × 75 or 100 × 100), ensuring that even the most delicate, featherlight panels could be safely anchored without adding unnecessary bulk to the chassis.
Decoding the Anatomy of a VESA Pattern
When shopping for a mount, you will frequently see alphanumeric designations such as VESA 100 × 100, VESA 200 × 200, or VESA 400 × 400.
What Do the Numbers Actually Mean?
If you look at the rear panel of any modern mountable TV or computer monitor, you will notice four threaded metal screw holes arranged in a square or rectangular formation. The VESA measurement describes the precise physical distance between these mounting holes, measured strictly in millimeters (mm).
- The First Number: Represents the horizontal distance measured from the center of the left mounting hole to the center of the right mounting hole.
- The Second Number: Represents the vertical distance measured from the center of the top mounting hole to the center of the bottom mounting hole.
For example, if a television features a 400 × 200 pattern:
- The horizontal distance between the left and right holes is 400mm (approximately 15.7 inches).
- The vertical distance between the top and bottom holes is 200mm (approximately 7.9 inches).
Conversely, a 200 × 200 pattern forms a perfect square, measuring 200mm horizontally and 200mm vertically.
Debunking Common Misconceptions
- Not a Resolution: Consumers frequently confuse VESA specifications with display resolutions (such as 1080p or 4K Ultra HD). VESA has zero connection to picture quality, pixel count, or screen technology.
- Not Screen Size: While larger screens generally require wider and stronger VESA patterns to manage their physical dimensions and weight, screen size alone is an unreliable indicator. Two different 55-inch TVs manufactured by different brands—or even different series from the same brand—may utilize completely different VESA patterns (e.g., 300 × 300 versus 400 × 200). Never guess a VESA size based solely on the diagonal screen measurement.
How to Accurately Find Your Display’s VESA Pattern
Before purchasing a wall mount, articulating arm, or desktop monitor stand, you must confirm your display’s exact VESA specification. There are two primary methods to accomplish this reliably:
Method 1: The Documentation and Specification Check (Recommended)
The fastest and safest method requires no physical measuring tools:
- Locate your exact TV or monitor model number (usually found on a white sticker on the back of the chassis or within the device’s software settings menu under "About" or "Support").
- Navigate to the manufacturer’s official website or consult the physical user manual.
- Look specifically for the "Wall Mount," "VESA Compatibility," or "Specifications" section. Manufacturers universally list this pattern in millimeters.
Method 2: Manual Measurement
If documentation is unavailable, you can measure the pattern yourself using a tape measure or metric ruler:
- Safely lay the display face-down on a soft, flat surface (such as a carpeted floor or a bed) to avoid scratching the screen.
- Locate the four threaded mounting inserts on the rear panel.
- Using a metric scale, measure the distance from the exact center of the left mounting hole to the exact center of the right mounting hole. Note this measurement in millimeters.
- Measure the distance from the exact center of the top mounting hole to the exact center of the bottom mounting hole. Note this in millimeters.
- Record your findings in the standard Horizontal × Vertical format (e.g., 300 × 300 mm).
Supporting Context & Metrics: Beyond the VESA Grid
One of the most common pitfalls DIY installers face is assuming that if a mount lists their TV’s VESA pattern, the installation is guaranteed to be safe. A matching VESA pattern is merely an alignment guarantee, not a structural safety guarantee.
The Crucial Role of Weight Limits
Every wall mount is engineered with a strict maximum weight capacity. Even if a mounting bracket supports a 400 × 400 VESA pattern, you must cross-reference its weight limit against the actual weight of your television (remember to check the weight without the stand, as desktop stands add substantial weight that is discarded during wall mounting).
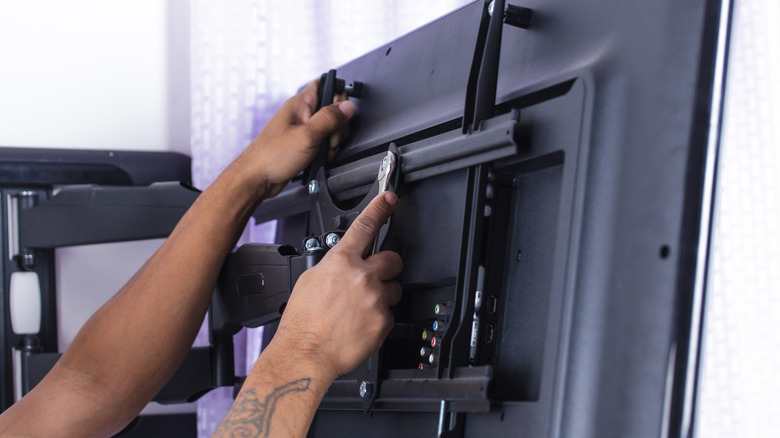
- The Safety Margin: Industry professionals strongly recommend purchasing a mount whose maximum weight capacity significantly exceeds your television’s actual weight. If your TV weighs 40 pounds, do not buy a mount rated for exactly 40 pounds. Opt for a mount rated for 65 or 80 pounds to account for dynamic loads, accidental impacts, and long-term structural fatigue.
Universal vs. Dedicated Mounts
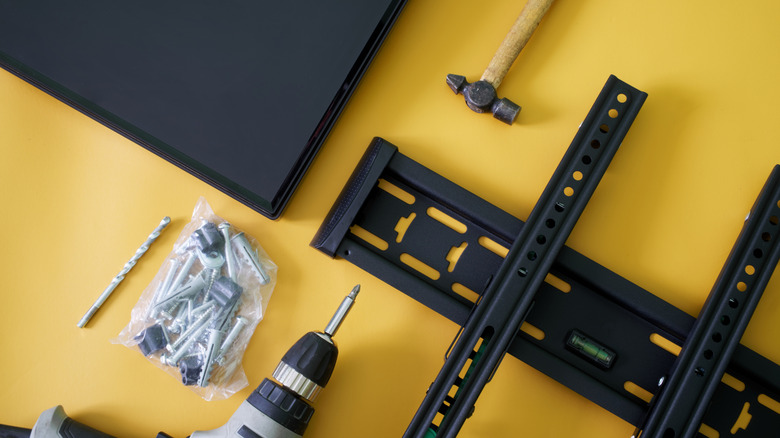
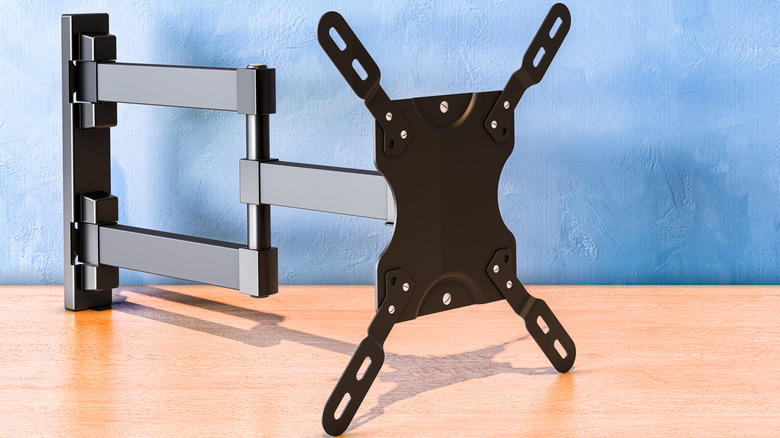
You do not need to purchase a mount restricted to one exact VESA dimension. The vast majority of modern consumer mounts are multi-pattern universal brackets. These units feature slotted mounting arms or adapter plates capable of supporting a wide range of standard configurations (e.g., supporting everything from 200 × 200 up to 600 × 400). As long as your specific TV’s VESA pattern appears on the mount manufacturer’s list of supported dimensions, the bracket will align correctly.
The Hardware Variable: Wall Construction and Fasteners
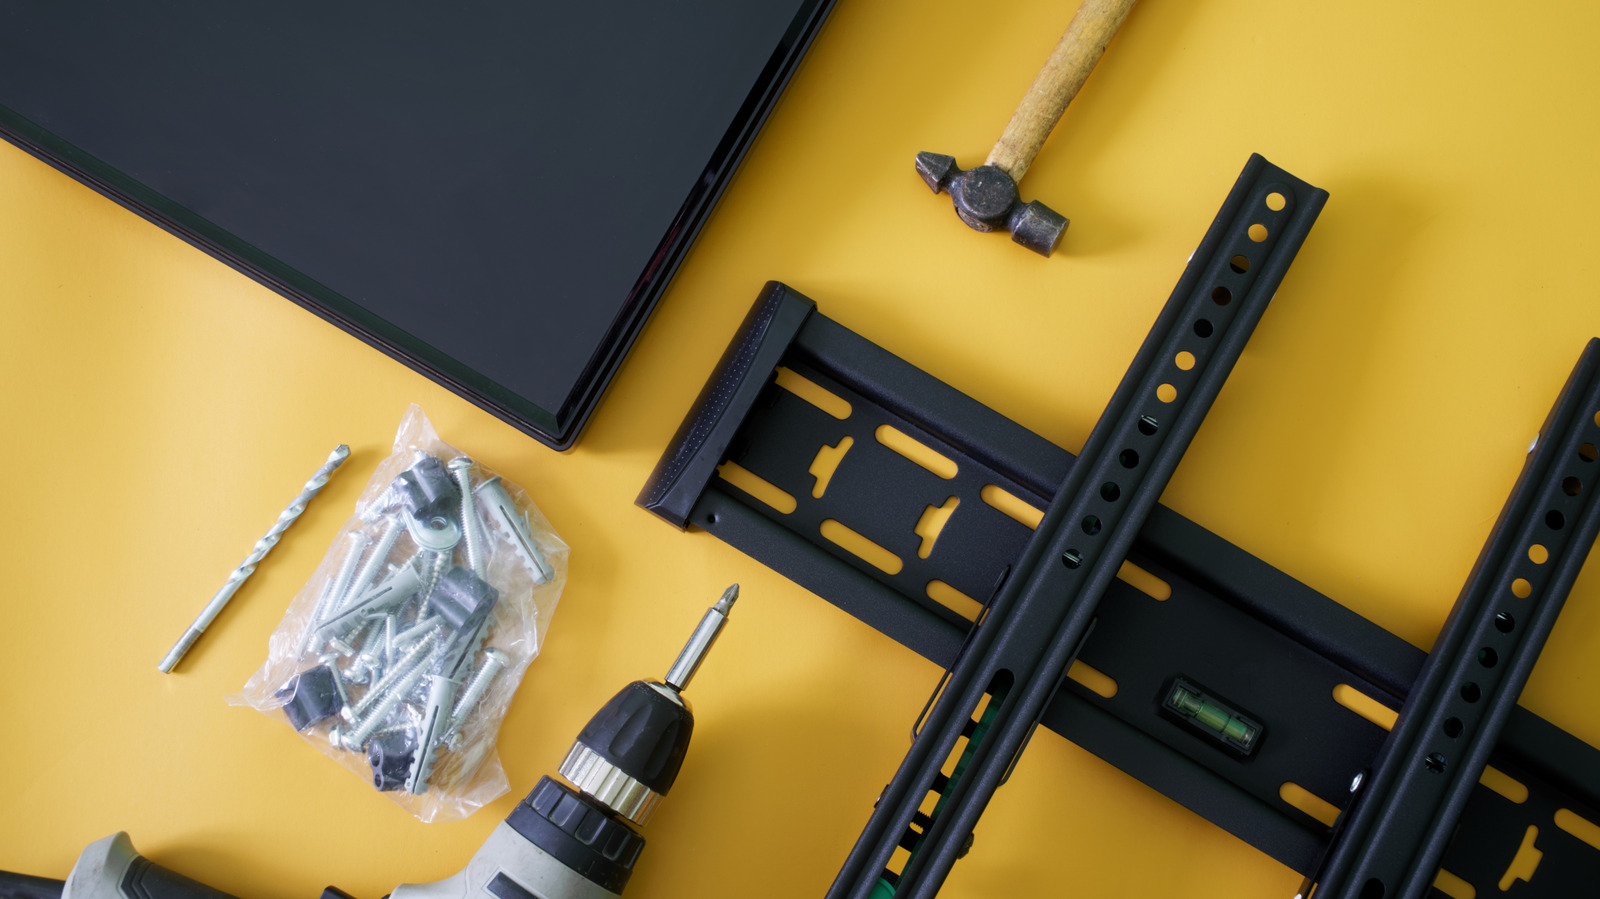
VESA dimensions regulate the connection between the back of the TV and the mounting bracket. They do not govern how the bracket attaches to your wall.
- Studs vs. Drywall: In North American residential construction, wall mounts must be anchored securely into vertical wood wall studs or concrete/masonry structures using heavy-duty lag bolts. Mounting a heavy flat-screen directly to hollow drywall using plastic anchors is a catastrophic safety hazard, regardless of whether your VESA pattern matches perfectly.
- M-Screws and Spacers: TV manufacturers use varying depths and thread pitches for their rear mounting holes. Quality mounts include an assortment of metric screws (commonly labeled M4, M6, or M8) and plastic spacers. If a screw is too long, it can bottom out and crack internal circuit boards; if it is too short, it will strip the threads. Always consult your TV manual for the precise screw length and thread pitch required.
Official Industry Guidance and Standards
The Video Electronics Standards Association continually updates its interface standards to accommodate emerging display technologies, such as curved ultra-wides, massive commercial digital signage, and feather-light OLED panels.
According to VESA engineering publications, standardization serves three primary consumer benefits:
- Interoperability: Eliminates the monopoly of proprietary mounting ecosystems, allowing consumers to choose from a competitive market of third-party mounting solutions (fixed, tilting, full-motion articulating arms, and motorized lifts).
- Structural Safety: Standardized hole placements ensure that the load-bearing stress points engineered into the internal chassis of the display align perfectly with the steel load-bearing arms of the mount.
- Future-Proofing: By adhering to standardized metric matrices, homeowners can upgrade their television sets years down the road without necessarily needing to tear down and replace the underlying wall-anchor infrastructure if the new display utilizes a compatible or adaptable VESA footprint.
Future Outlook: What Lies Ahead for Display Mounting
As display technology continues its rapid advancement, the mounting landscape is evolving to meet new design paradigms.
Ultra-Thin Displays and Specialized Chassis
With modern OLED panels measuring mere millimeters in thickness at the top edge, manufacturers have had to reinforce the lower portions of the rear chassis where VESA mounting hardware attaches. Future mounting solutions are increasingly focusing on ultra-flush, "zero-gap" wall systems that rely on specialized recessed VESA plates or magnetic alignment guides. These systems allow massive screens to hang as flush against the drywall as a framed piece of fine art.
Integrated Cable Management and Modular Mounts
The next generation of mounting hardware is moving beyond simple structural support. Manufacturers are integrating pass-through channels, modular power distribution hubs, and smart-home accessory brackets directly into the VESA mounting plate architecture. This reduces cable clutter and simplifies the integration of streaming boxes, soundbars, and peripheral hardware directly behind the display.
Augmented Reality (AR) and Precision Installation Apps
Already, hardware manufacturers are leveraging augmented reality (AR) smartphone applications. By scanning your room and your TV model, these apps project virtual overlays onto your wall, helping you determine not only the correct VESA height and stud alignment but also the optimal ergonomic viewing angle based on your seating arrangement.
Conclusion
Mounting a flat-screen television or computer monitor is a rewarding DIY project that instantly elevates the look of any room while freeing up valuable floor space. However, success hinges entirely on thorough preparation and a clear understanding of technical specifications.
Remember the golden rules of display mounting:
- Verify the VESA pattern in millimeters by checking your manufacturer manual or taking precise center-to-center measurements.
- Never rely on screen size alone to determine mounting compatibility.
- Always cross-reference weight limits, ensuring your mount is rated well above your display’s actual mass.
- Prioritize structural wall integrity, anchoring securely into wood studs or masonry rather than relying on hollow drywall.
By respecting these engineering standards, you can ensure that your entertainment investment remains safe, secure, and perfectly positioned for years of viewing enjoyment.